
Disclaimer: I received a generous discount for the work I am evaluating, in exchange of a public service feedback. I will try to be as impartial as possible with the review, but it is only fare to be completely transparent with you.
Some years ago I managed to capture lovely god rays while I was on family vacations in Mauritius. I never printed it on paper because I felt that all those highlights would be lost in printing, unless back-lit, acrylic or metallic print was involved. Well when this opportunity came I decided it was time for it to become palpable.
Here is the feedback in the timeline of events:
Image preparation
Independently of what I do with my images, I always post process them and for that I use Adobe Lightroom and Photoshop. Are they the best tools? Maybe, maybe not. They are the ones I use.
The next important aspect was choosing the media. There are several available medias (papers, acrylic, aluminium, etc). I chose this image specifically to make the most out of a metallic print, so it was an easy choice: aluminium dibond.
After knowing the media, it is time to get the color profiles. From the site, you can install them, which allow you to preview your images as close as possible to the printer color profile (your final printed work). Remember that getting the colors right between an ink based system and a light based system is not always easy. The print profiles are paramount on this.
With the color profiles in place I have tuned the image to my standard of perfection. The most challenging area being the god rays origin area, where I wanted to make the most out of the metallic surface without loosing ink surface.
With the finished image, now was the time to order the print.
Ordering the print
You can order your work either through the website or downloading the software to your machine and processing it from there. Both approaches have similar flow and functionality.
You pick the media, choose the size and configure how the image should behave (i.e. resize to fit). For better results, you should generate the image the right size and dpi right from your post-processing tools.
The rest is logistics: shopping data (user info, addresses and payment).
Unpacking
Let me just go ahead and confess that I was very worried about the state the print would arrive. I do a lot of ordering things from abroad and I’ve had all kinds of (bad) experiences with carriers, packaging, etc. and when you get to something as delicate as a print… well I expected the worst. But great news! The print arrived pristine, although the packaging has some signs of rough handling.
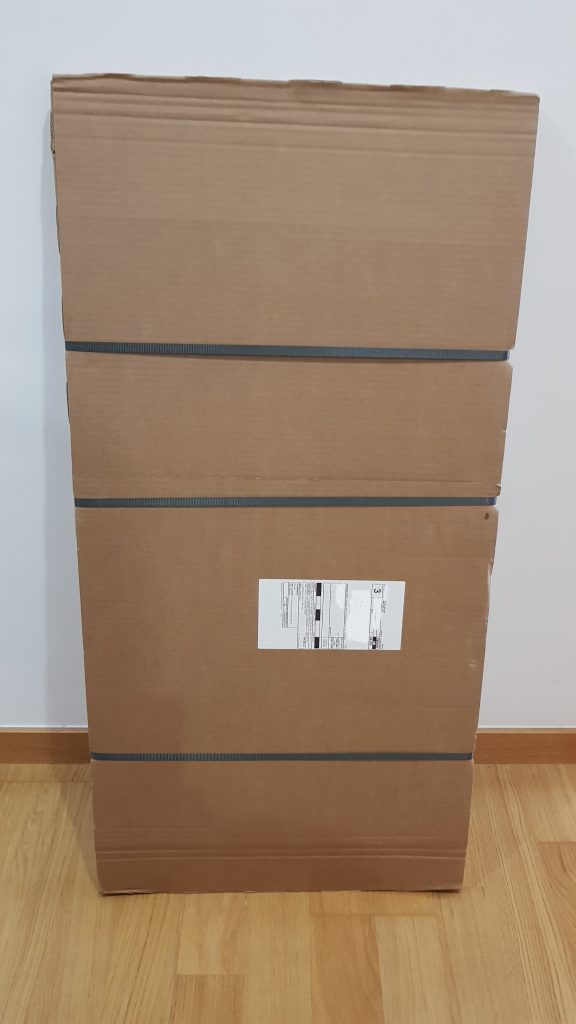
The package front side

The package back side where some damage was visible.
The packaging was made of multiple cardboard layers, cellophane, foam film and protective corners.
All & all all these layers did a great work protecting the artwork, which was 100% undamaged (trust me I’m picky like that).
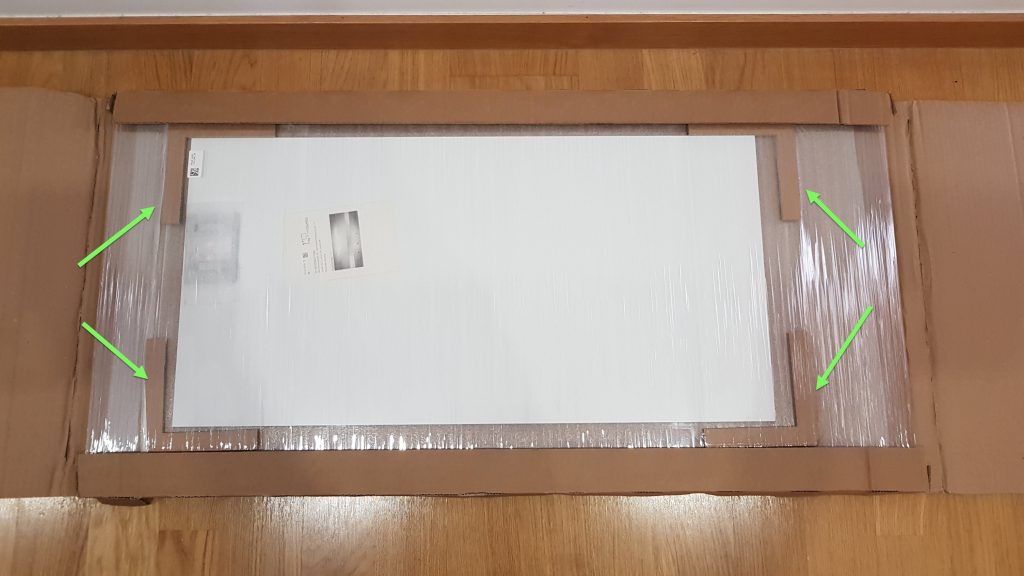
Inside the package, the protective layers and corners highlighted by the arrows
At this point in time, the cloud of possible damage in transport was gone and I was now left with excitement of what was expecting me from the other side of the print (queue the drums!).
The final step: the print.
Inspecting the artwork
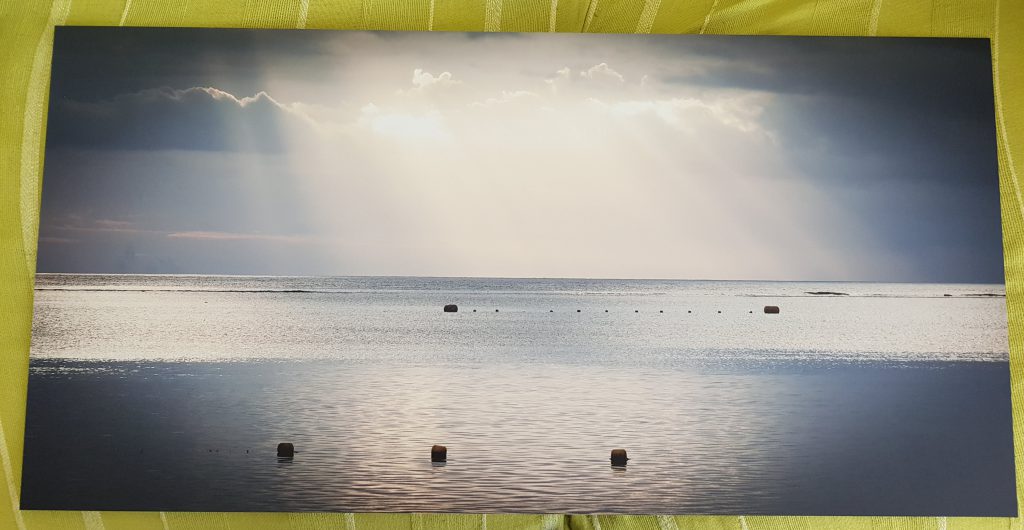
The quality of the image is impressive. The media implies a matte finishing and therefore not to be observed at close range. Playing with the highlights and metallic prints is always a risk because pure white in your image translates as “no ink” on the print. That is fine with white paper 8as long as there is a print coating on top), but on other non-opaque-and-white kind of media, means a whole in your print. In this case worked like a charm and there is just the right amount of ink to allow the brightness of the metal to come through while keeping the image consistent. With the right light, those god rays come alive.
The image is technically complex with very slight shades where a mountain is on the horizon and they came through perfectly.
On the downside, an almost imperceivable spot was missing ink on the upper left corner. I’m used to do these spot corrections on my analog lab prints, so I got it fixed, but this would be a print that I couldn’t deliver to a paying customer.
And there it stands on my holding system.
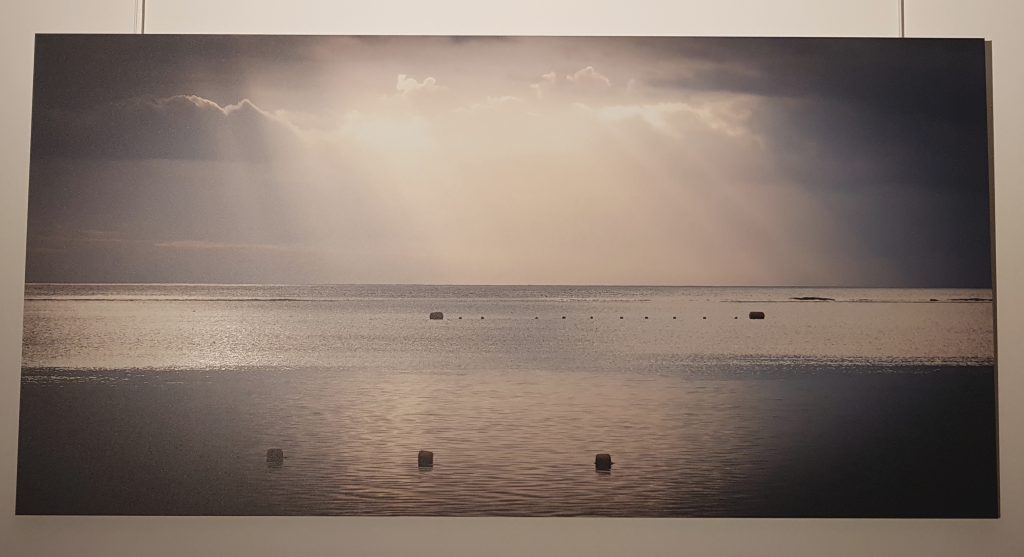
Artwork on final display.
Conclusions
I started by scoring the following areas:
-
- Service (ordering)
- Print quality
- Packaging
- Shipping
After some thought I felts that this didn’t reflect the complete scenario, because print quality was being impacted by the white spot that I found, which is not an issue of print quality, but more of quality control.
Scoring goes from a minimum 0 stars (totally missed the objective) to ![]()
![]()
![]()
![]()
![]() (top notch).
(top notch).
| Service | Saal: Photo products (https://www.saal-digital.com/) Printing services |
| Selected media | Aluminum composite panel 3 mm (matte)
80×40 cm |
| Print type | Six-color direct UV printing, incl. light inks
|
| Print quality | Superb. |
| Quality control | The white spot that was present on the image should be easily spotted by the technician. In this case, being on a dark area was very visible. If I end up using this service professionally, I will need a guarantee that this quality control will be in place, because it takes about 1 week for the work to be delivered and in many cases with little or no margin for a second print to be delivered. |
| Packaging | Excellent packaging. Handled all the handling roughness. |
| Shipping & Handling | This is totally carrier’s responsibility. |
| Al & All | Will I use it again? Probably yes. I would love to try an image on Gallery Print on PVC, but this is a print you can’t spot correct, so I will only embark on that adventure if I have the commitment of a thorough review from the service team.
|
All the images displayed here were captured in jpg mode from my cell phone.